Tuesday, January 16, 2018
We have a desk!
The utility room desk/cabinets are finished.
Since our last installment, the counter top guy came up and measured for the top. We also installed the drawer handles. I found this handy little jig Euro Handle It which made installing the drawer pulls a breeze. Since we’re winding down on the remodel, I had taken some of my tools back home. Of course the tools I needed to do the cabinet trim work were among them.
A couple of weeks later the counter top guy was back to do the install. He does really good work and it turned out perfect.
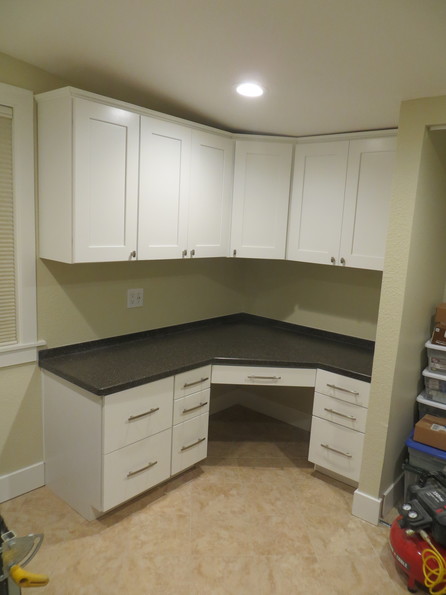
I also remembered to bring up the air nailers and we were able to get the crown, toe kick and side trim installed. There was also some trim that mounts under the cabinets (to help hide the upper cabinet bottoms from view), but we were shorted by about 1 foot so that didn’t get installed.
We’re really happy with how the desk turned out.
The TODO list for the utility room is getting pretty short. We still need to finish painting the closet door and get a shelf/hanger rod installed and we want to put some shelves over the washer dryer.
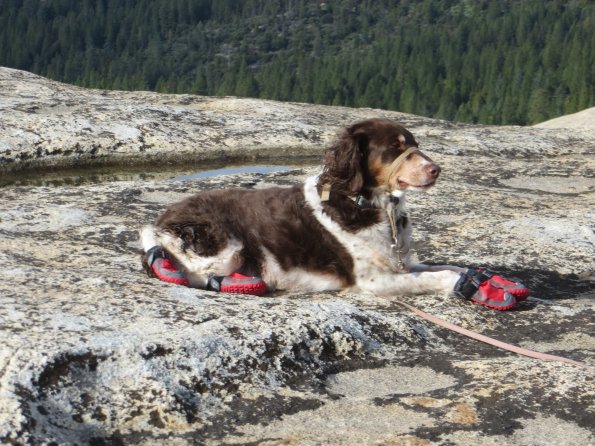
Now that we’re not so busy actually remodeling we’ve been taking some time to explore the area a bit more. We took a day to go back to Big Bald Rock park, this time with the dogs since the temperatures were reasonable. This gave Sandie a chance to try out her new hiking booties. Turns out she’s not real fond of booties.
She’d rather just sit on the rock and enjoy the view.
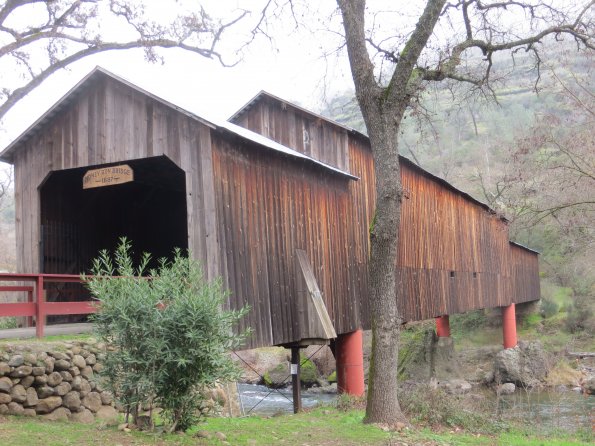
We also took a day trip to the Honey Run covered bridge. It’s got a nice little park and the bridge is one of only 12 covered bridges left in California. It is also the only one with it’s type of construction. It was recently refurbished and looks great. About 5 miles from the bridge, in the small town of Centerville, there’s a museum that worth a look.
Tuesday, August 2, 2016
What to do when staying at the Scary Cabin (part 1)
It’s been just over three years since we bought this cabin in the woods and we’ve been working pretty much non-stop remodeling it. Seems like it’s about time for a break. So we decided to take some time off from work and from cabin work and explore the area a bit.
Day 1.
We had previously taken a drive to Quincy and passed through Grey Eagle and the Basin Lakes area on the way back. It looked like there were some nice hiking trails out that way so that was our first stop. After doing some research it looked like there was a nice hiking trail called the Bear Lake Loop so we made that our destination. Suspecting that this area could get quite crowded on a weekend, we opted for a Friday instead. It’s about a 2 hour drive from the cabin to the Basin Lakes area. To our surprise, the parking area for this trail was packed with some cars lining the narrow road leading up to it. We managed to find a wide area just down the road a bit. We started on the trail heading towards Big Bear Lake. The trail is well defined with nice views and at this point you’re headed a bit up-hill. When we got to Big Bear Lake, we detoured to get to the shore and worked our way around the lake to a somewhat secluded spot. There we let Sandie swim a bit and Duke got his feet wet.
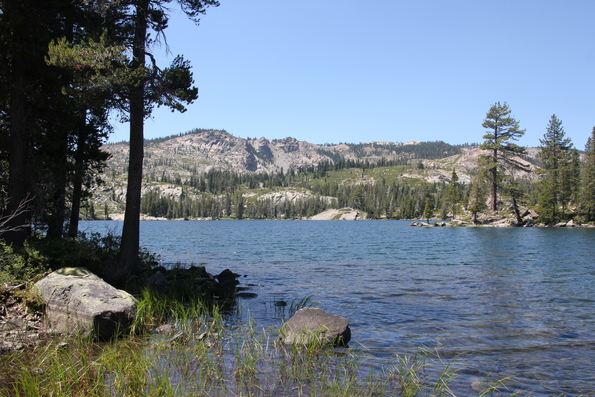
After our rest stop, we continued on the trail to Little Bear lake. Little Bear lake is quite small compared to Big Bear lake. We didn’t stop, but continued up the trail to Cub lake. Cub lake is very small.
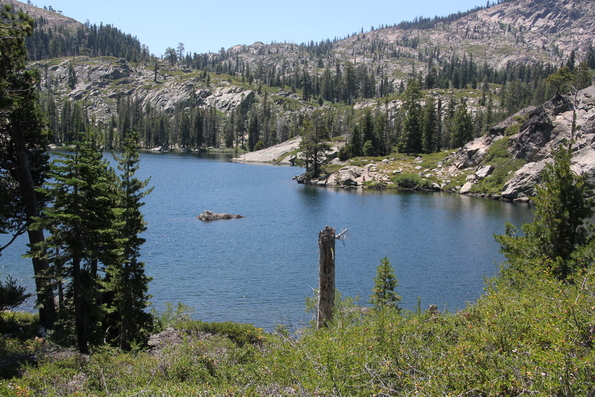
At that point we decided to try and make it to Long lake but Sandie’s feet started to get messed up by the hot rocks on the trail and instead, we headed back.
We also checked out a couple of other locations. There is a Fern Falls trail that leads to a water fall, it’s a short, paved trail, but we were told no water was flowing and we knew Sandie couldn’t handle the hot pavement so we’ll leave this one for another day.
Then we drove down to Salmon lake. The crowd there was much larger and parking was non-existent. This seems to be a popular lake for boating as there is a boat ramp. There’s also a lodge on the other side of the lake and the only way to get to it is to cross the lake in some kind of watercraft.
The trip there and back passes through a couple of stop worthy towns. Sierra City and Downyville. A lunch trip to Downyville would make a nice trip. There’s an old gold mine in Sierra City, the Kentucky mine. They do have tours so we’ll have to check that out at some point.
Day 2.
We planed to drive a couple of segments of the Backcountry Discrovery drive that the forest service put together. We started just outside of Laporte and headed towards Gibsonville on the old gravel/dirt roads. The guide does a good job of directing you and pointing out interesting historical sites. The road is fairly rough in places. Along the first section we did find a small steep spur that ended at the top of hill with great views. This would make a good stop for lunch if timed right. The first segment ends at Harrison Flat.
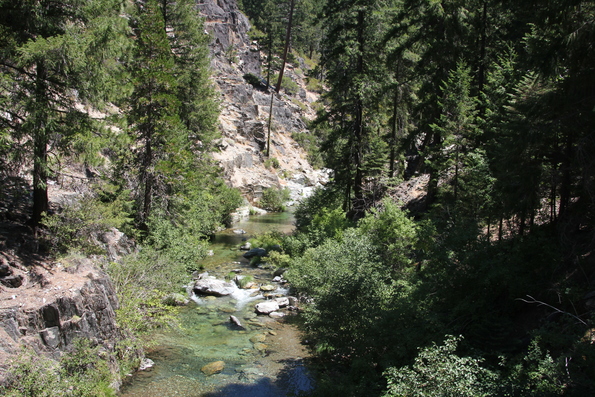
The second section is more of the same but with less historical sites. The second section ends at Hwy 70. We hadn’t planned on doing the third section but it did take us back toward home and the book said it was the easiest section of them (or something to that effect). Turns out they lied. The road was very rough and overgrown. We ended up with lots of pinstripping on the 4runner. I don’t think we’ll be doing that section again any time soon.
Day 3.
We had two goals for this day. Check out the Feather Falls trail and Big Bald Rock. The first stop was the Feather Falls trail. This trail is a bit more difficult than what we’re currently capable of so we only hiked in about a 1/2 mile. For that section at least, the tail is well maintained. Probably best to do this earlier in the year with cooler temps and more water for the falls. On the way back to the main road we turned off to investigate what looked like Lake Orville access. We did find an unmarked area that allowed us to drive almost to the water’s edge. This could be a good place to take the dogs swimming. After that, we stopped in Orville for lunch and to wash the dust of the 4runner. Then it was on to Big Bald Rock. The tailhead doesn’t look like anything special but then you encounter this:
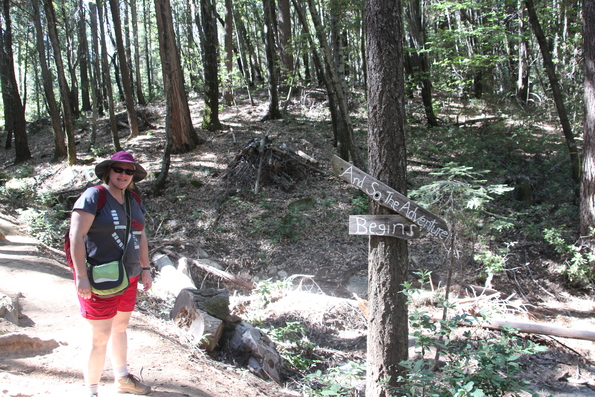
After a short walk (the tail is only about a 1/4 mile) you get to the main attraction. Rocks, lots of rocks.
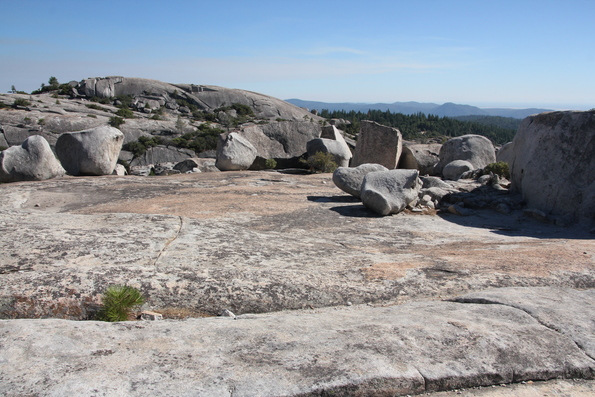
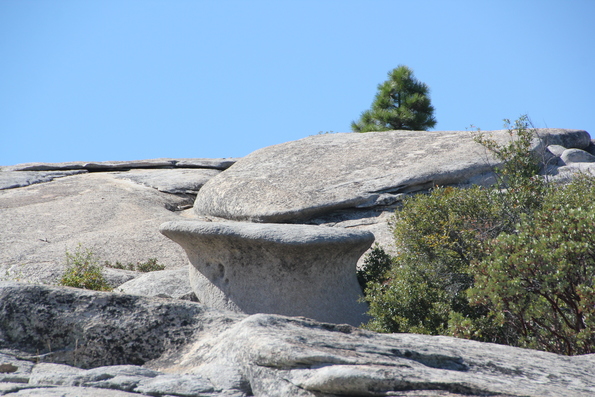
You can wander in and around the rocks for hours marveling at the strange shapes that mother nature has created. The only real downside is that there isn’t much shade so be prepared.
It was a lot of driving over 3 days, but now we have a better idea of what’s around and are excited by the prospect of more exploring.
Monday, December 28, 2015
A white Christmas!
If you’ve been following along, you know that we had a goal to spend Christmas at the cabin. Well, we did it! Everything we wanted to have done wasn’t but we have 2 separate bedrooms and a working toilet upstairs. Good enough for us and Genny’s folks.
Leading up to Christmas, the 10 day weather forecast showed snow on 3 of the 5 days before Christmas, including on Christmas eve. Looked like we’d have a white Christmas. As it got closer, the forecast called for less snow but still some on Christmas eve. Christmas eve morning, it was showing snow with an estimate of up to 8 inches at the cabin’s elevation. By the time we arrived in the late afternoon, the snow has mostly stopped and there was about 3 inches on the ground. So we did have a white Christmas! I found out that Genny, being a California girl, had never experienced a white Christmas before. So this was an extra special Christmas!
After a leisurely morning with a good breakfast and opening presents we made a trip up to Laporte. Laporte is about 20 miles away and another 1500 feet higher. There a s good bit more snow up there. At least a foot. Not much was open so we just drove around and checked out the snow covered sights.
Is is possible to spend time up there and not continue with the remodel? I don’t think so. After installing the bedroom doors the one to the back bedroom just didn’t look right. We had moved that door when we expended the bathroom and had basically must moved the rough opening the 9 1/2 inches over. The top of the opening was left open in the bedroom to be used as a shelf. Once the door was installed, it became apparent that there was no way the door could be trimmed on the hallway side since we basically had ceiling right above the door frame. This small bit of ceiling also intersected half way over the bathroom door so we wouldn’t be able to put trim there either. After a bit of thought, I realized that this little bit of ceiling really should have been at least 5 inches higher. This leaves a bit of “wall” above the door frames so that they can have trim installed. Nothing like taking a hammer to new, textured, and painted drywall. We knocked out that bit of ceiling and re-framed it about 5 inches higher. This also meant that the shelf like structure in the back bedroom had to be raised about 5 inches. We got the framing and drywall done, now it’s just a matter of texture and paint. It looks more correct now. So I guess the lesson here is try to do things right the second time.
We spent some time thinking about and finalizing the trim along the stairway. This is another case of not really knowing how everything should fit together when starting out. Long ago the bit for railing was built, at the time, we weren’t thinking about adding trim to the stairway. The trim was added because the wall wasn’t in good enough shape to provide a clean joint for the laminate. Well, the railing mount doesn’t line up with the trim and it’s a little late to be re-building the railing mount. I think we came up with an acceptable solution and are now working to implement that.
We brought up most of the wood needed to build the upstairs bedroom window cases. Turns out I was short by one 1×4. What we had was cut and painted so at least the back bedroom inside window casing is ready to be installed. In addition, the bedroom doors were painted and one door frame painted. With the upstairs hovering at about 63/64 degrees, it takes a while for paint, wood filler, joint compound, etc. to dry.
Where are we now?
weekend n+0 - drywall prep (October 17/18th did some, not as much as planned)
weekend n+1 - finish drywall prep for texture (October 23/24/25 - texturing started)
weekend n+2 - texture & prime (October 31st / November 1st - prepping for texture)
weekend n+3 - paint & start bathroom floor tile & finish bathroom electrical (textured and prime)
weekend n+4 - finish bathroom tile & re-install vanity & toilet (paint, tile, and electrical finished)
weekend n+5 - install doors & start knee wall framing (laminate installed (most)
weekend n+6 - install laminate (laminate finished and stair trim)
weekend n+7 - finish laminate (grout, toilet, doors, stair trim)
weekend n+8 - break
weekend n+9 - break
weekend n+10 - Christmas!
Well, there’s still a lot of work to do upstairs so my estimates on how long it would take were, once again, way off. Even though the upstairs looks like a construction zone, it’s mostly finish type work that needs to be done.
Monday, April 20, 2015
The cabin’s Raison d’etre
Took a bit of break from all the construction to do a ranger led hike at the North Table Mountain Ecological Reserve. If you’re there at the right time of the year (we weren’t), the table is supposed to be a mosaic of color from the wild flowers. This year, they bloomed early and mid March would have been ideal. However, the hike is still interesting and there are some vernal pool areas that aren’t completely dried up and still have flowers blooming. The grasshoppers are out in force, every step would sends dozens hoping out of the way. There are also canyons with small streams sill running. Those are filled with tadpoles and a few aquatic gardner snakes. The landscape is quite interesting and the result of a large lava flow millions of years ago. The area is open to the public so you can hike on your own. The best trail maps are available from the Chico Hiking Assoc. . Pictures from our hike are available in the photo section.
On the road to the hike trail-head we spotted a sign for a covered bridge. Turns out there’s a covered bridge just down the road from the trail-head in Oregon City. Given how rare covered bridges are in California, finding one is an unexpected pleasure.
Being able to explore new and interesting locations was one of the main reasons for purchasing the cabin. As the cabin becomes a more comfortable place to stay, we plan to do more of these explorations and less construction.
Hiking wasn’t all we were up to this weekend. The main goal for the weekend was to put down the laminate flooring in the downstairs bedroom. Once we got the hang of it, it went pretty fast. Finished, it does look nice but we won’t get to really see it for a while. We covered it up to prevent any damage since we’re still using that room as part of the construction site.
In addition to the floor, we were able to install the inside trim on the bedroom door and install baseboard in the hallway. We also turned a lot of good wood (OK, maybe not good) into sawdust.
