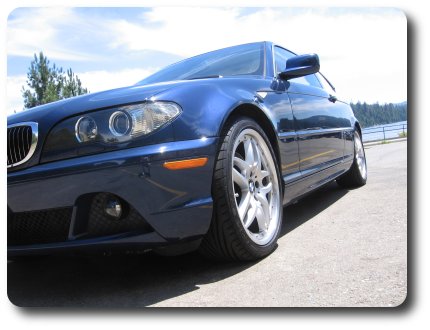
 Our latest ride is a 2004 BMW 330Ci with sports package. It took us a while
to find one that had the options and colors we wanted. Seems like most of
the Mystic Blue coupes have a black leather interior. This one has just what
we wanted, the Sand Montana leather. Upgrades include:
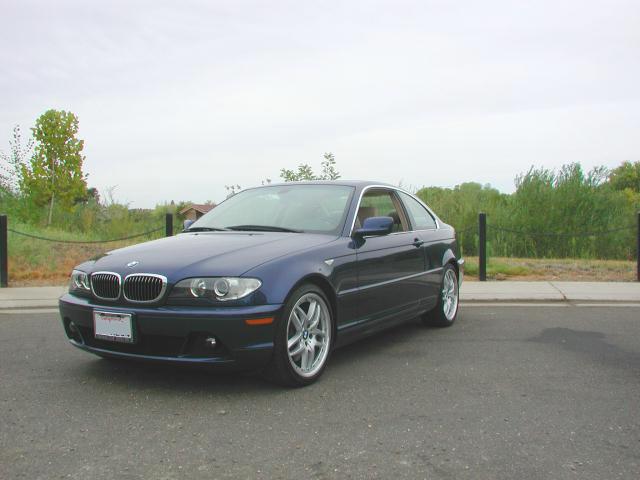
Our latest ride is a 2004 BMW 330Ci with sports package. It took us a while
to find one that had the options and colors we wanted. Seems like most of
the Mystic Blue coupes have a black leather interior. This one has just what
we wanted, the Sand Montana leather. Upgrades include:
- Myrtle wood interior trim (it originally had the Titanium).
- Double spoke Composite style 71 18" wheels (now fitted with Goodyear Eagle F1 GS-D3 tires).
- Adaptive auto-leveling Xenon headlights.
- Cold weather package.
- Moonroof.
- Park Distance Control.
- Phatbox MP3 system.
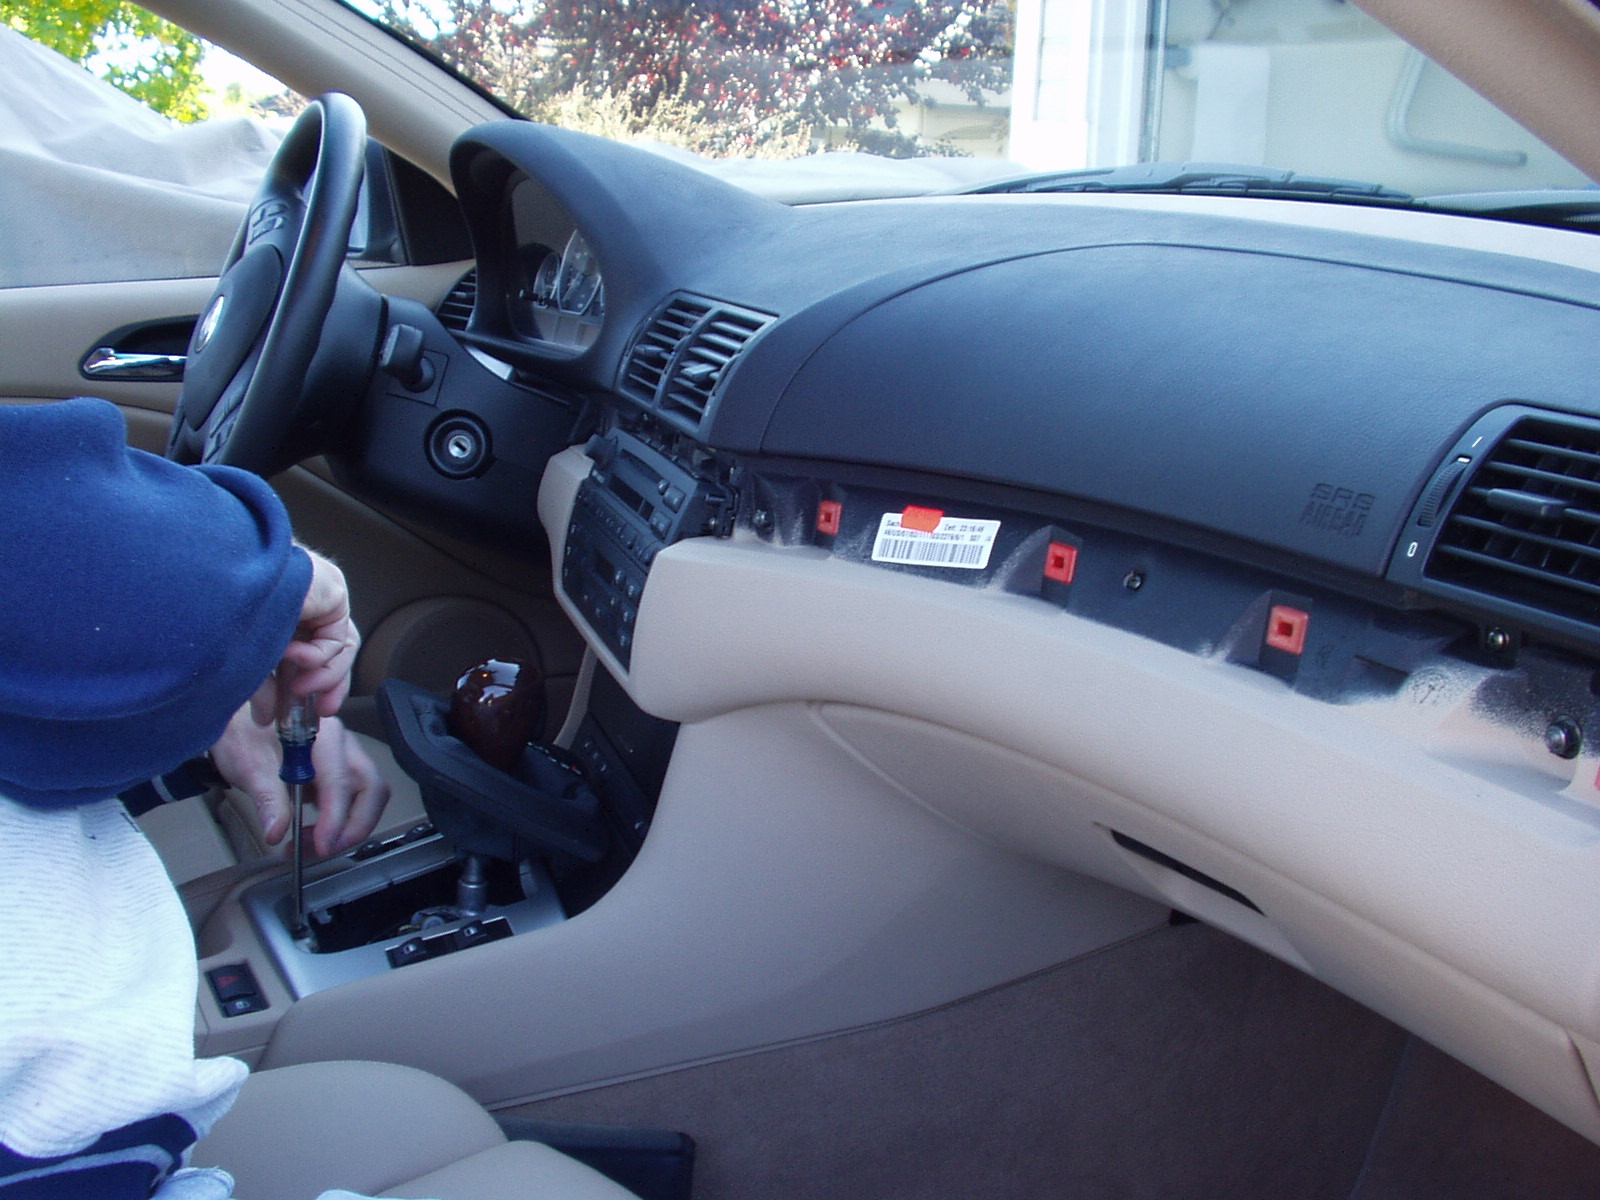
Since this BMW doesn't have the "premium package" it didn't come with the Myrtle wood interior trim. This was a deal-breaker for Genny. It's her car and she wanted the wood trim. Since we were ready to walk out, the dealer decided to throw in the wood trim. However, they would not install it. How hard could it be? Actually, it's not too hard. The dashboard trim just pops off. The door and rear seat trim takes a bit more effort since the panels have to be removed. Here's some pictures of the process.
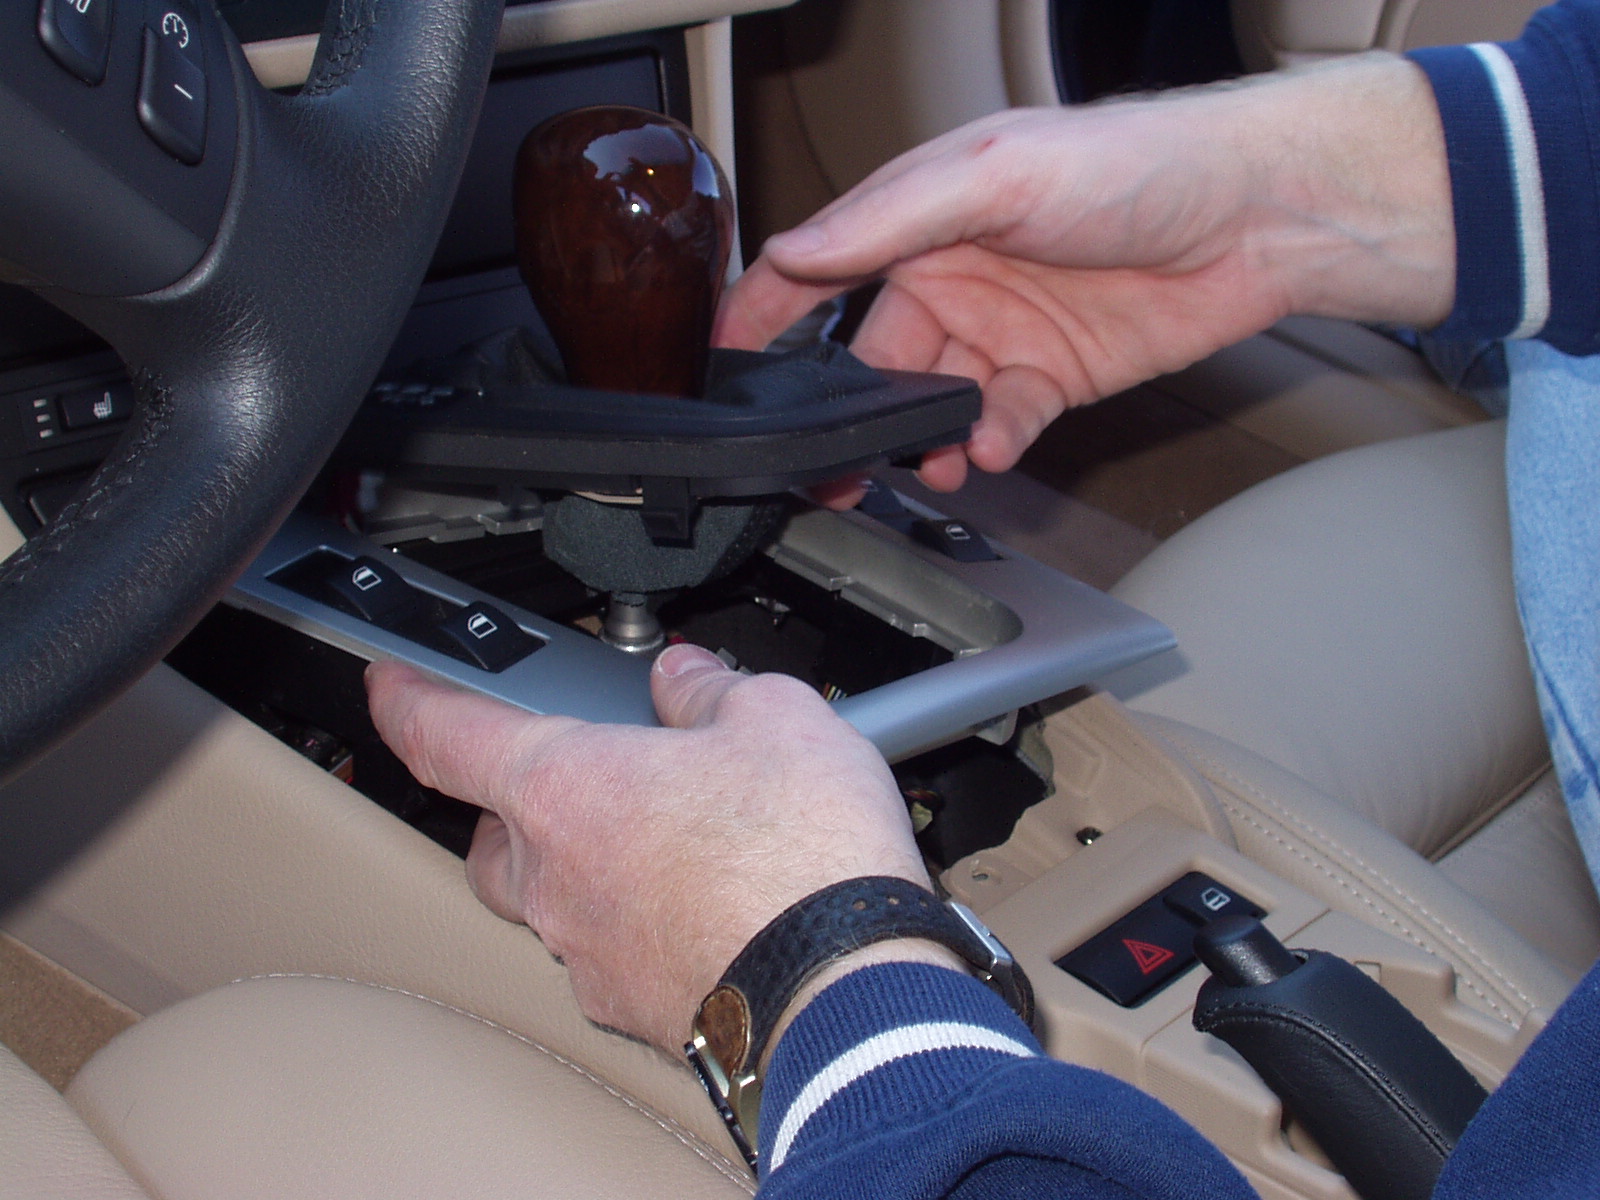
 Here I'm removing the trim around the gear shift. The black trim with the shif"t
boot just pops out. Then a couple of screws hold in the trim. You can also
see that the other dash pieces have already been removed.
Here I'm removing the trim around the gear shift. The black trim with the shif"t
boot just pops out. Then a couple of screws hold in the trim. You can also
see that the other dash pieces have already been removed.
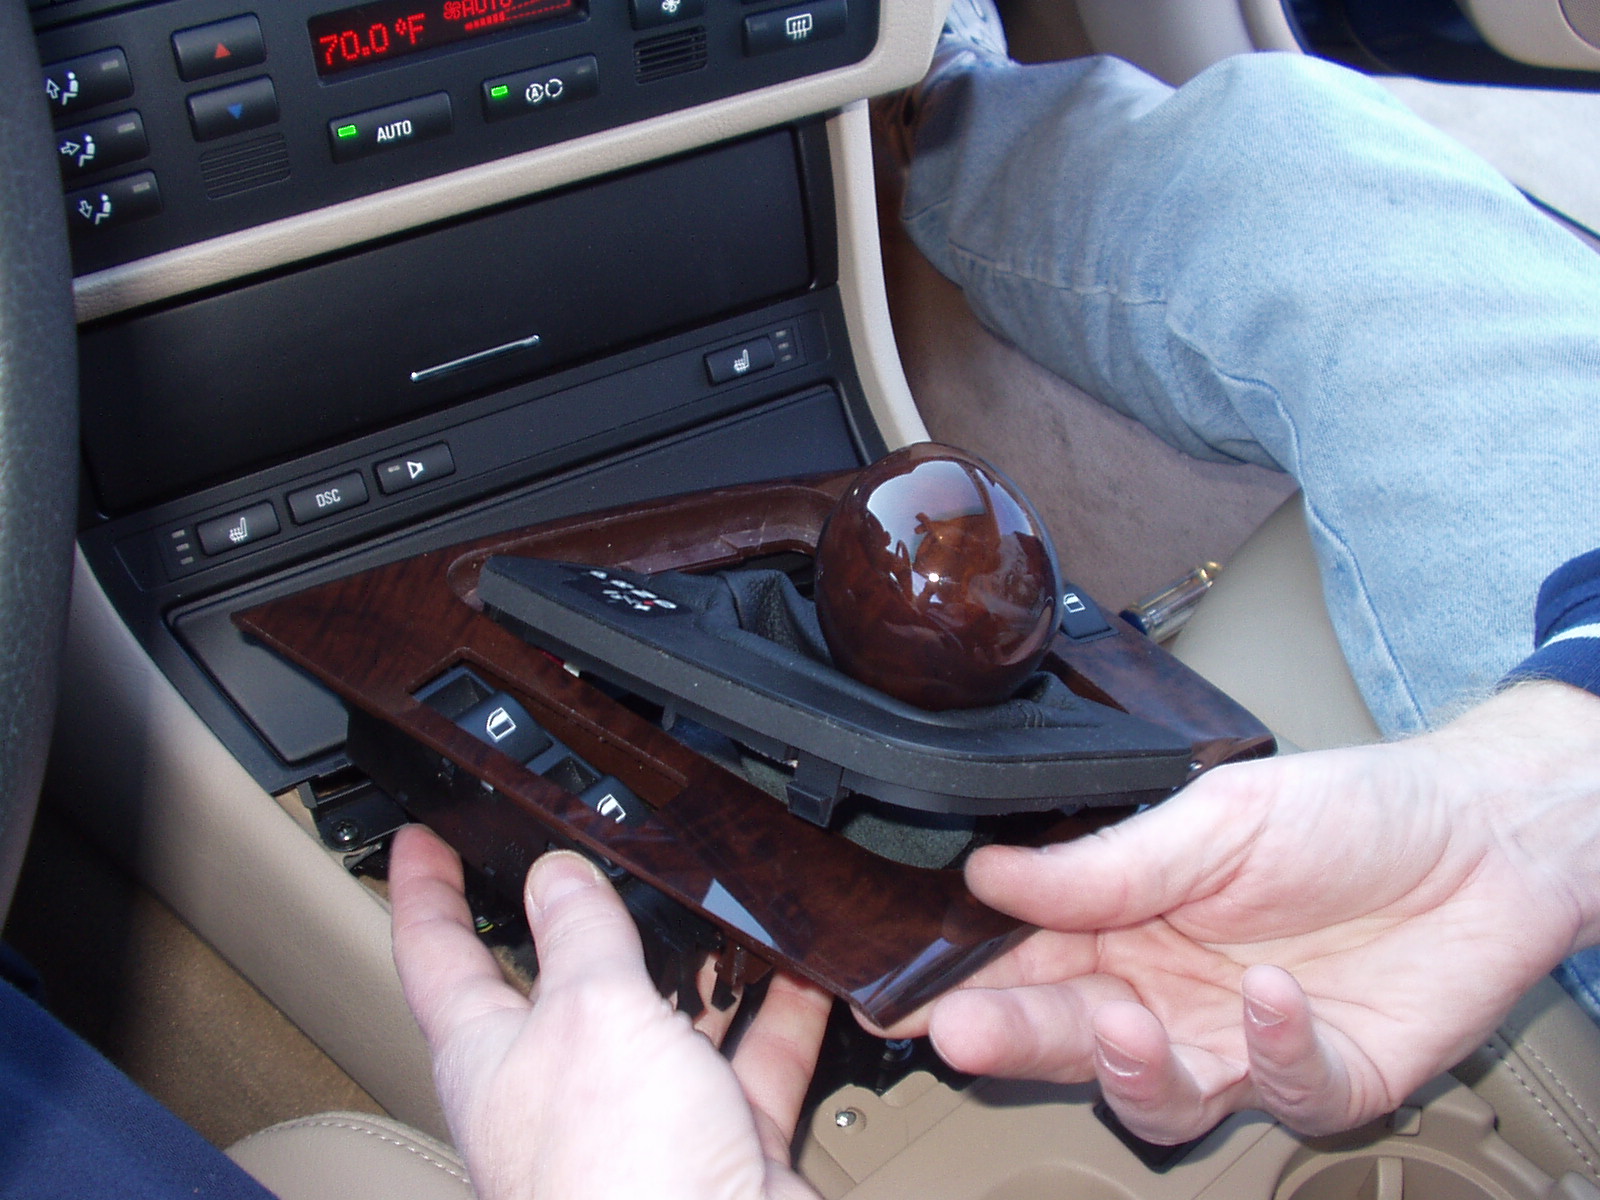
 With the screws out, the trim just lifts out. The window switches are snapped
in so they just pop out from below. If you look close, you'll notice that the
shift knob is wood. The kit came with a new knob and that was the first thing
I replaces (since it was easy and didn't involve taking things apart).
With the screws out, the trim just lifts out. The window switches are snapped
in so they just pop out from below. If you look close, you'll notice that the
shift knob is wood. The kit came with a new knob and that was the first thing
I replaces (since it was easy and didn't involve taking things apart).
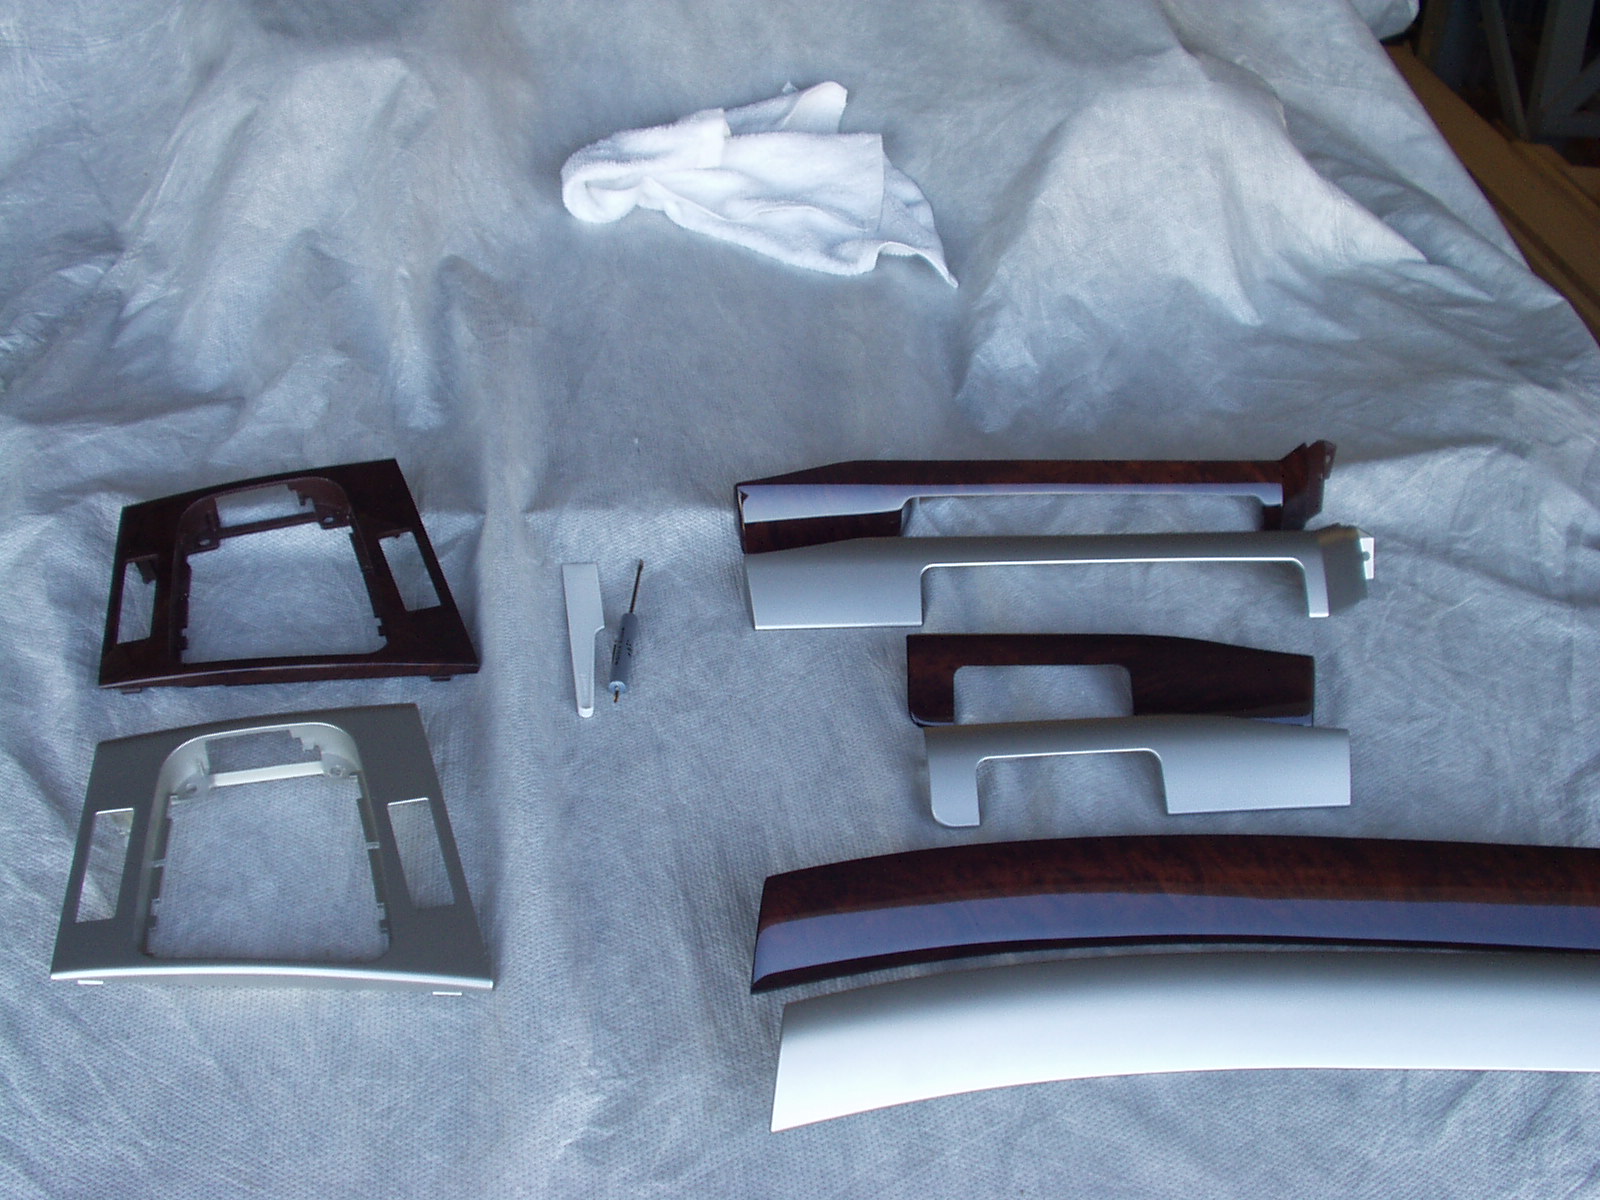 Here's all the dash pieces, both the original silver and new wood. Also, you
can see the plastic tool I used to get under the trim to pop it off.
Here's all the dash pieces, both the original silver and new wood. Also, you
can see the plastic tool I used to get under the trim to pop it off.
 Installation is the reverse of removal. Here's the new shifter trim going
back on. The window switches just pop back in. Then set the trim in place and
put the two screws back in. Lastly, pop the boot trim back into place.
Installation is the reverse of removal. Here's the new shifter trim going
back on. The window switches just pop back in. Then set the trim in place and
put the two screws back in. Lastly, pop the boot trim back into place.
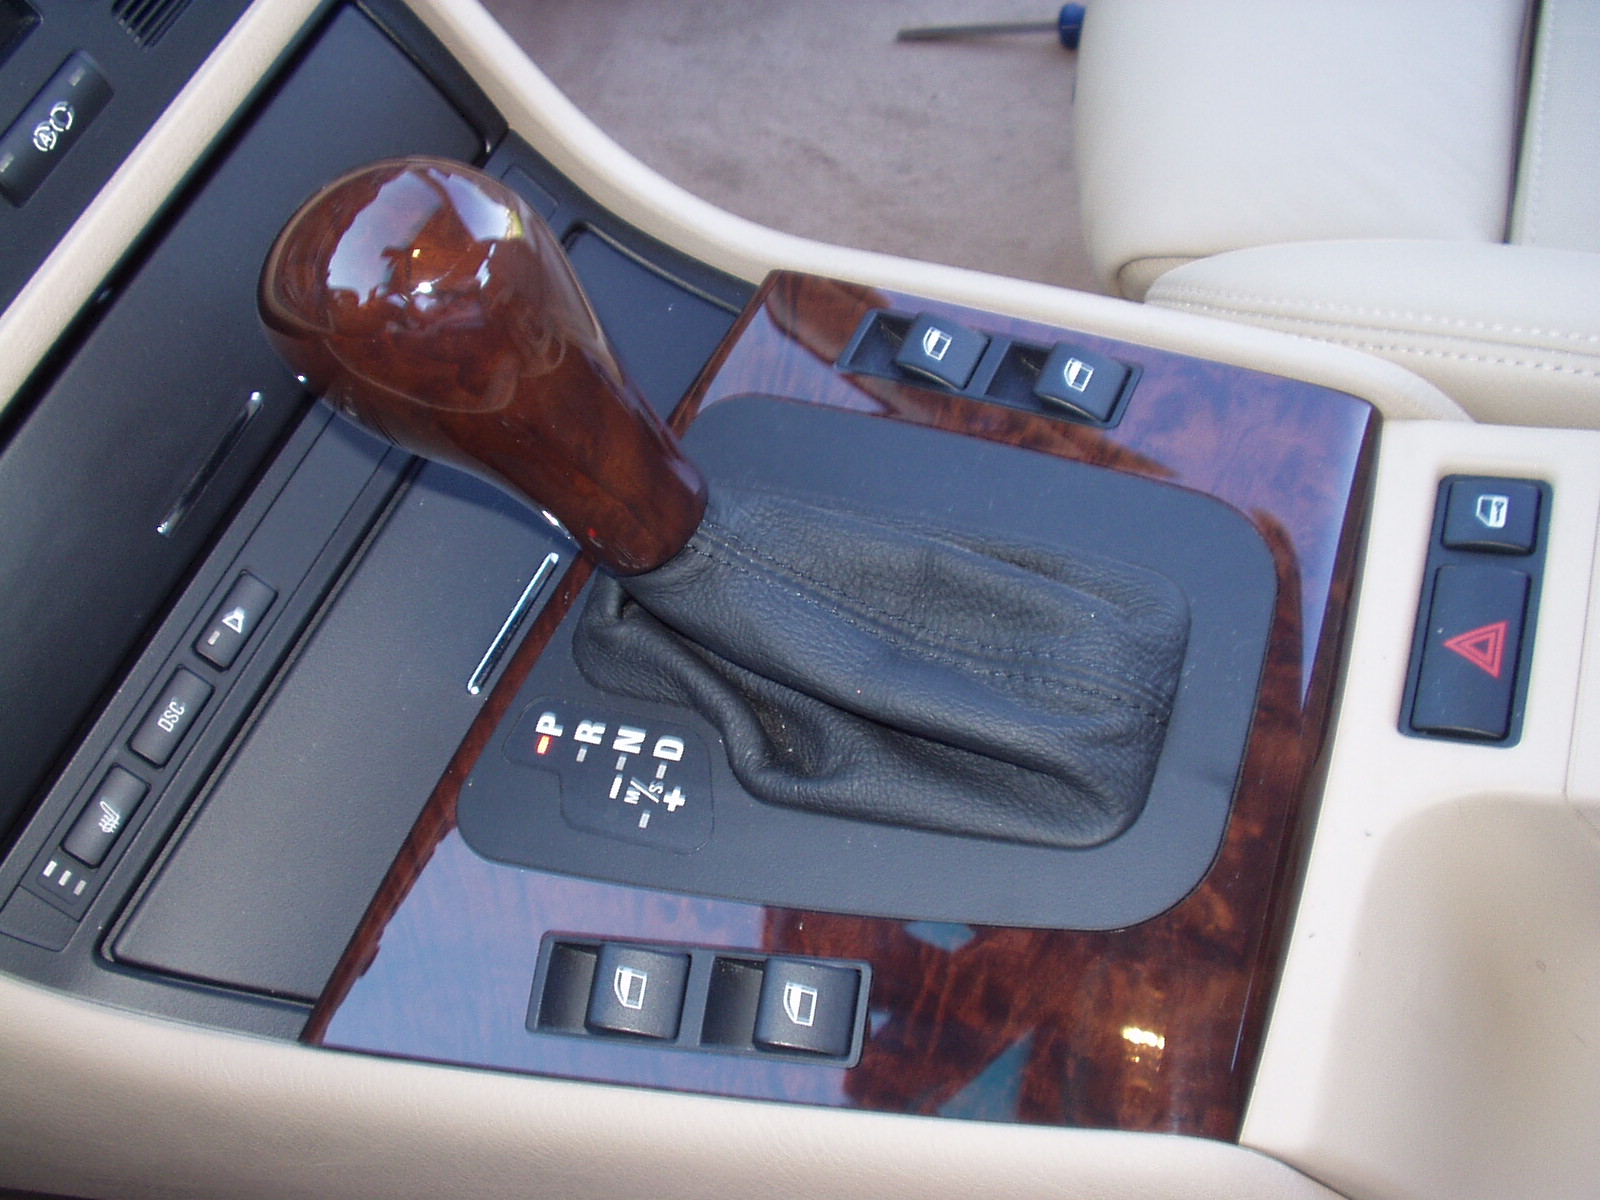 All back together. Looks like it came from the factory!
 The rest of the dash trim just pops back on. Line up the clips and give it a
whack with your hand and it's done.
The rest of the dash trim just pops back on. Line up the clips and give it a
whack with your hand and it's done.
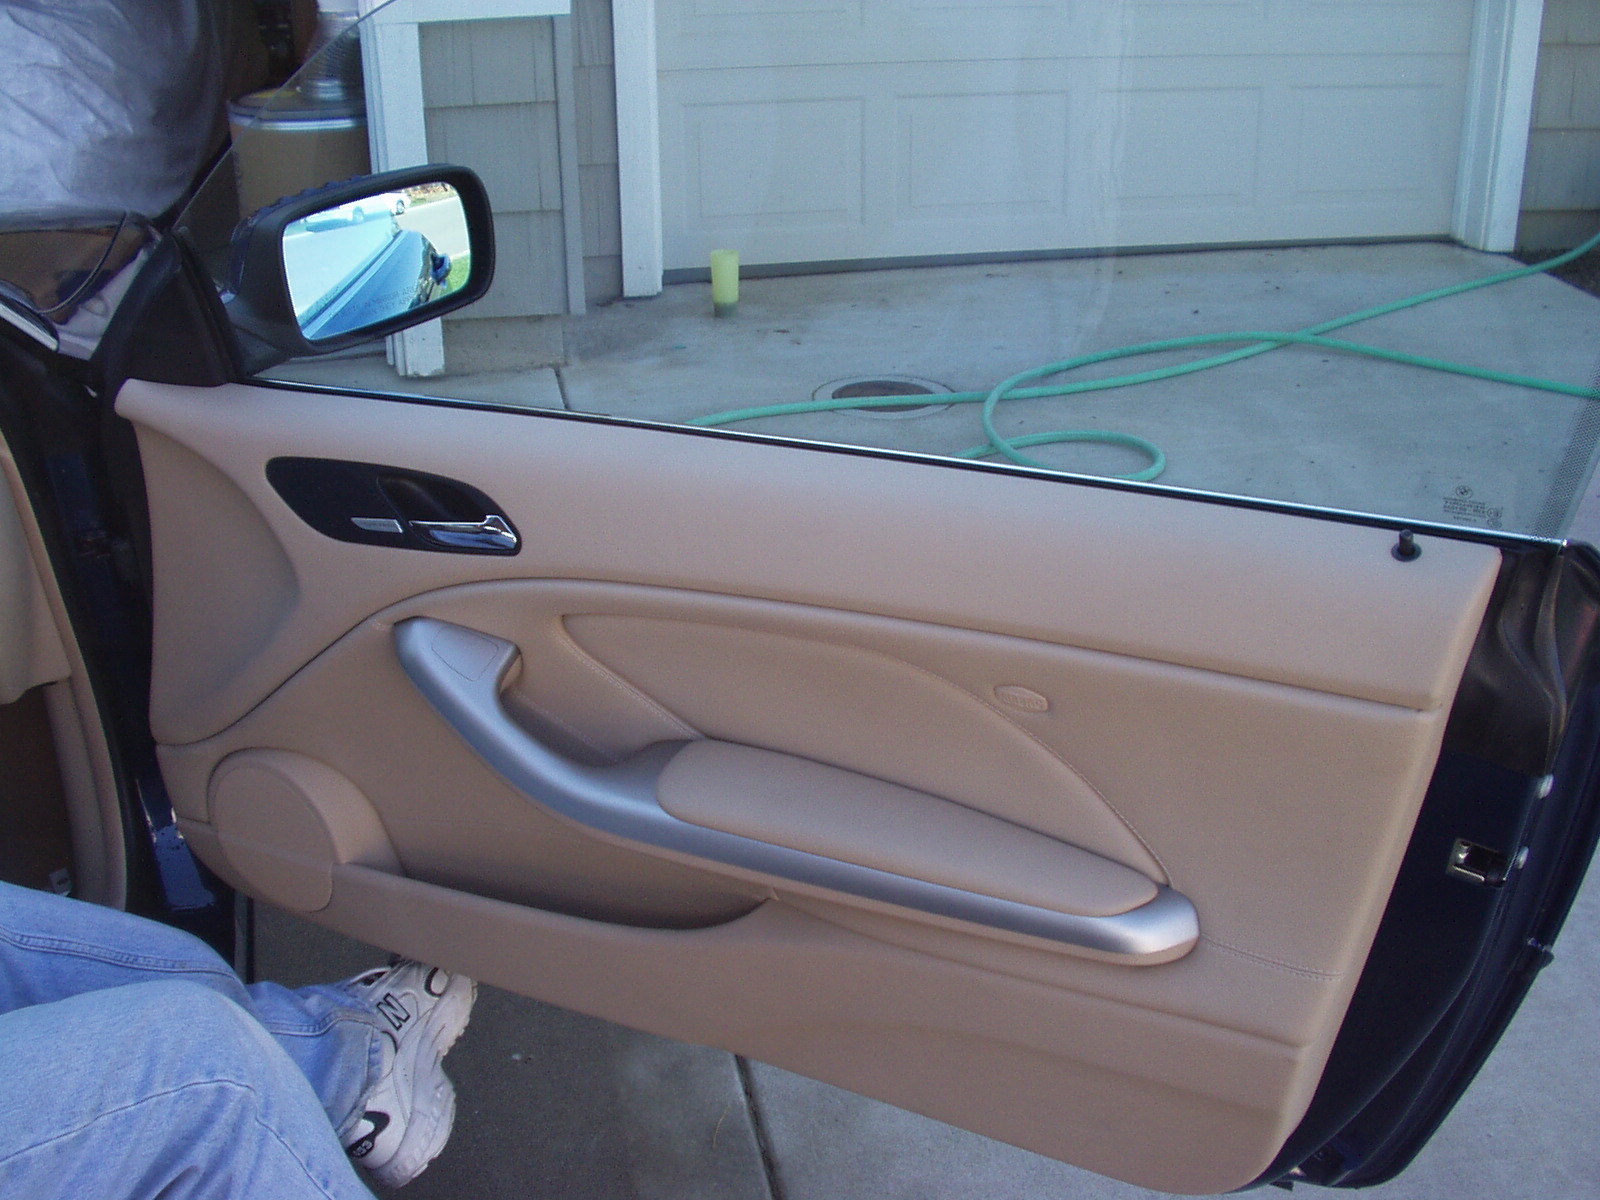 Here's the door before disassembly.
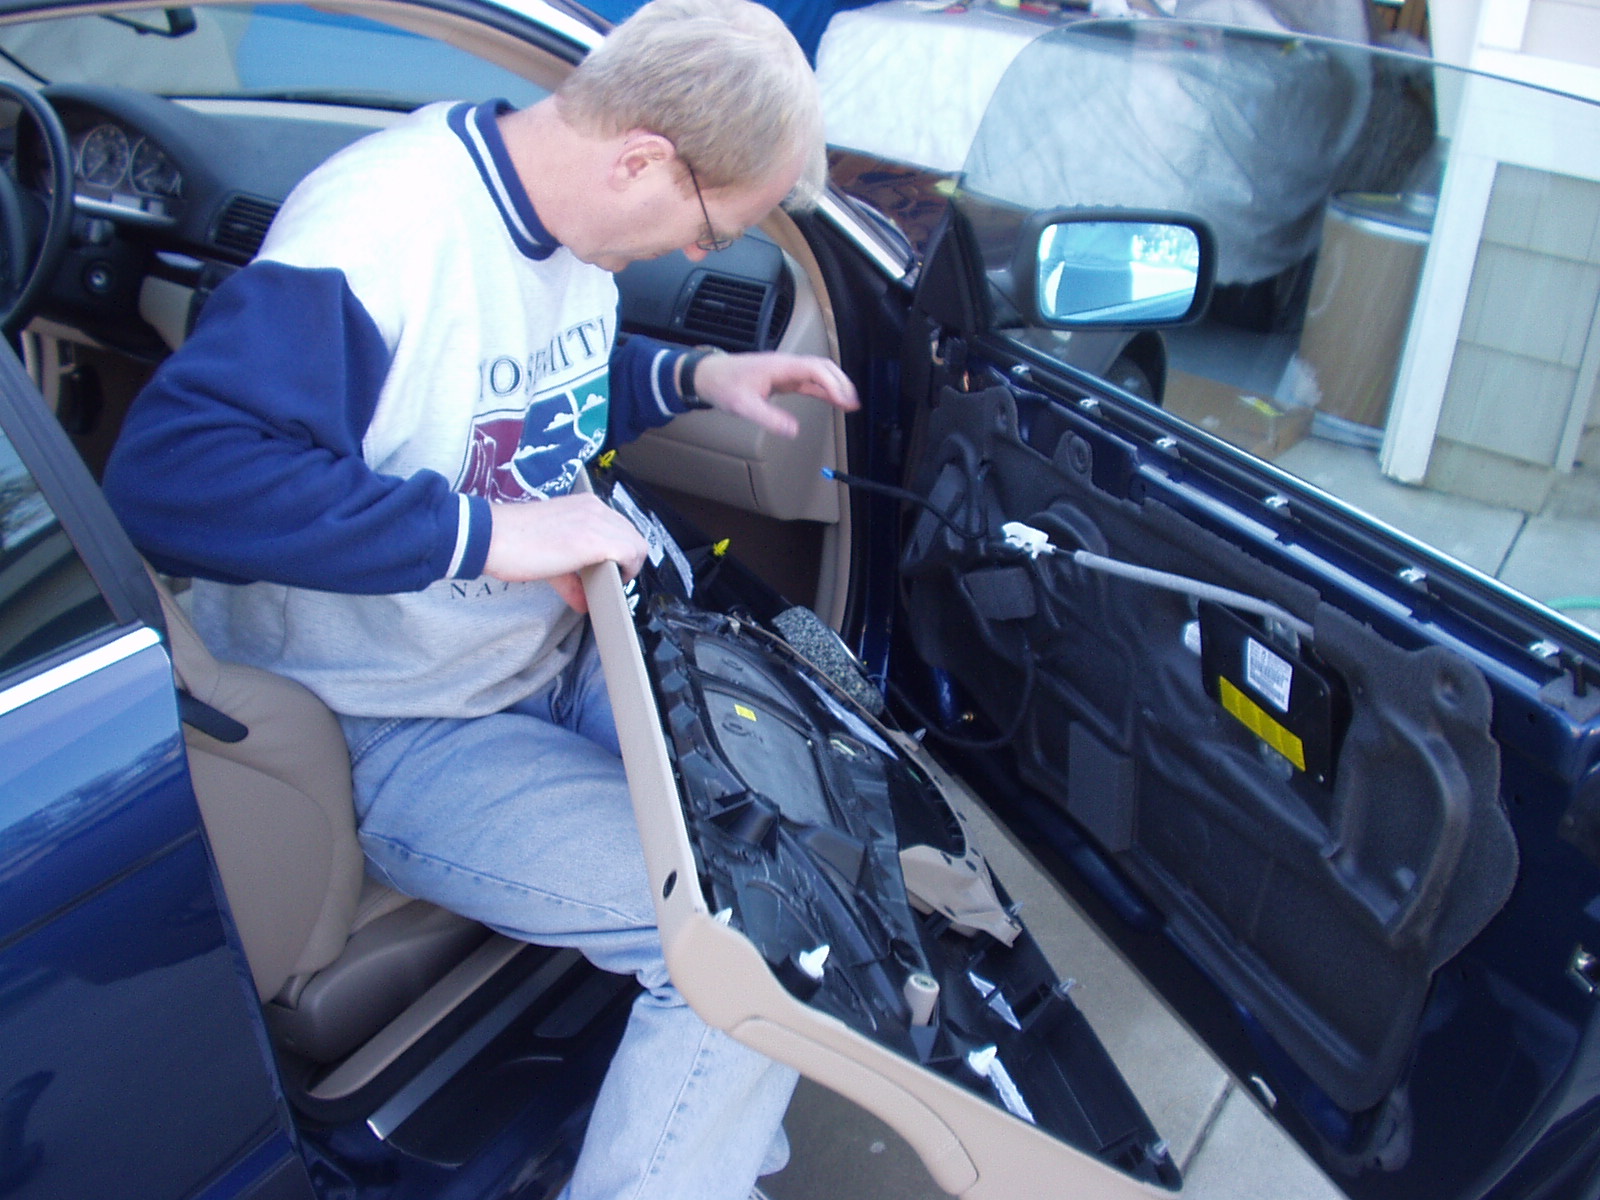
 Door panel removed. It just pops off. I used the plastic tool and worked it
between the panel and the door until I could get my fingers in there. Then
just pulled.
Door panel removed. It just pops off. I used the plastic tool and worked it
between the panel and the door until I could get my fingers in there. Then
just pulled.
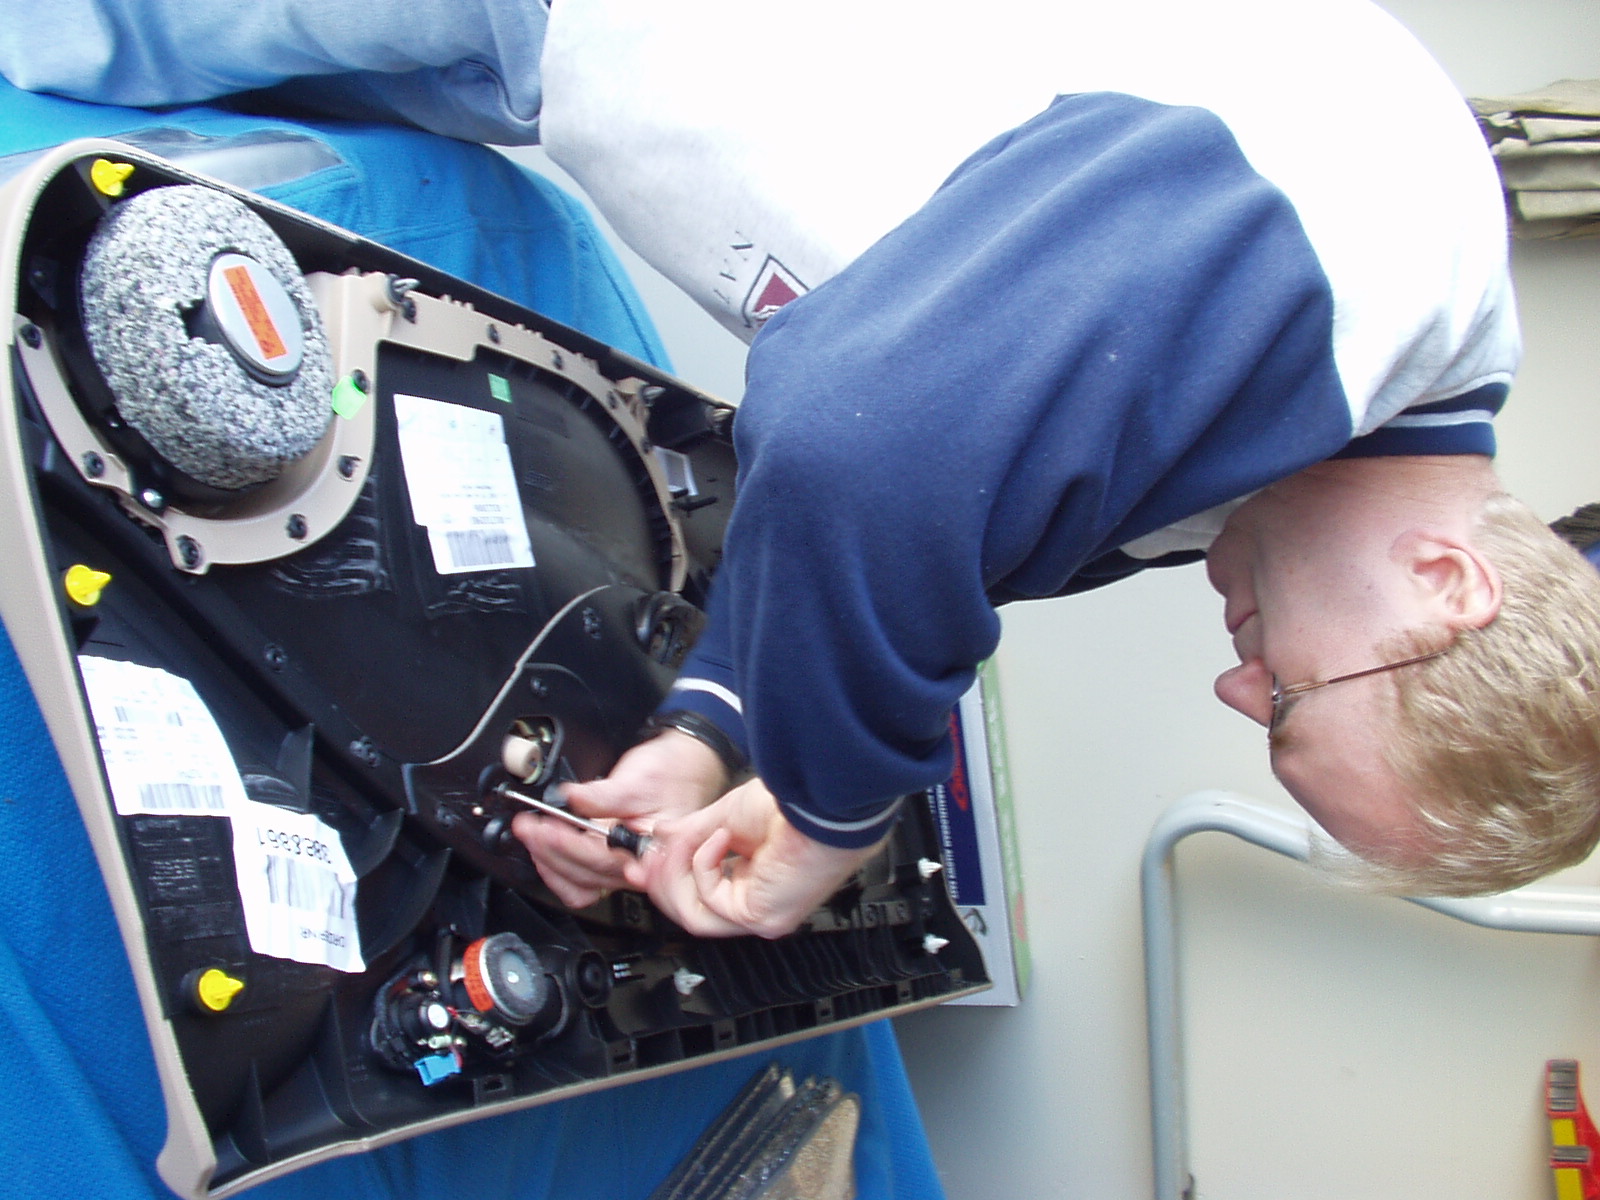 A couple of screws hold the arm rest on. With the arm rest removed, it's just
plastic clips that hold the trim on. It's on tight and you really have to
yank on it to get it off. No pictures of me doing that.
A couple of screws hold the arm rest on. With the arm rest removed, it's just
plastic clips that hold the trim on. It's on tight and you really have to
yank on it to get it off. No pictures of me doing that.
 The panel goes back on pretty easy. Just line up the clips and pop them in.
 Here it is all back together. Looks good!
The back seat trim was about the same. It is a little tricky to get the panel poped off and back on because the back seat is in the way. But once it is off, the same process is used to replace the trim as on the front doors.