Monday, August 14, 2017
The utility bedroom
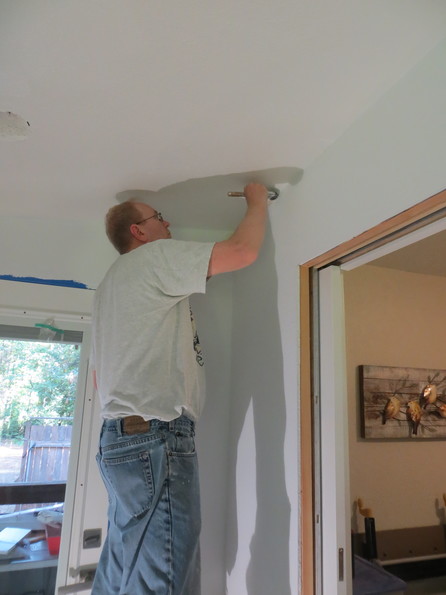
Progress on the utility room continues and is actually going according to schedule! Although, keeping on schedule has been more work than anticipated at times. The goals for the past weekend were paint and cement board. The primer coat went pretty quick but did take almost 3 gallons of paint. After that was done, we only had a small break (lunch) and it was time to start putting some color on the ceiling and walls. I had forgotten how much work it is doing all the hand work for the ceiling to wall corners. This room had some interesting challenges in that the ceiling in most areas isn’t high enough to stand on the platform without hitting my head, but just high enough to make it a reach without the platform. This also makes it fun when using a roller, with a long handle, you’re baning into things, and without, you’re stretching. Another small break while the ceiling drys before trying to cut in for the walls.

We’ve not had good luck getting the wall paint to cover in one coat. It almost does, but leaves lots of spots where it seems to pull away or shrink as it dries. With a second coat on the wall, we call it done.
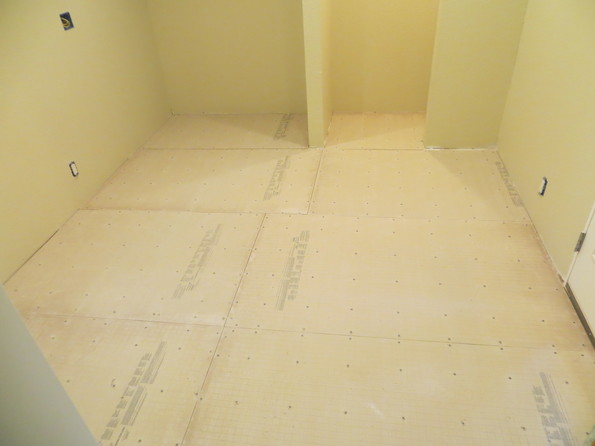
Next we install the cement board on the floor. Getting it cut and placed isn’t too bad, but then we have to screw it all down. That’s a lot of screws!

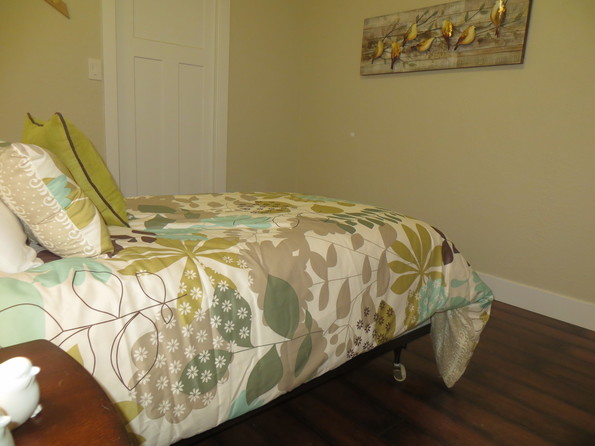
Some thinset on the all the seams and it should be ready for tile. But that’s going to have to wait. We need the guest bedroom back as a bedroom so eunwieldlyverything has to be moved back into the utility room. We do spend some time trying to organize it a little so it’s not a complete mess. The cardboard floor covering in the bedroom has served it’s purpose and was looking pretty bad, so we pulled that up and finally get to see what the room really looks like now.

Since most of the rooms have been completed, it was time to start working on a way to show the dramatic changes that the have taken place over the past 4 years. One of the ideas was to duplicate many of the original photographs and show before and after photos for each room. There are still a couple of room missing, but the results are available from the menu on the right. This also prompted a review of the main website for the cabin photos. Using the photo gallery for the main web pages and menu is getting a little unwieldy and there have been some issues with the photo gallery in general; like the thumbnails don’t look very nice and it doesn’t work well when viewed on a mobile browser. After reviewing a number of different photo gallery packages for the web, there are two that seem to work best. One is a revamp of the existing code. The thumbnails are cleaned up and the photos properly set to display with the right orientation on all browsers. The second is a fairly complex database driven package. While the complexity of using it is higher, it does offer some nice features like display of the camera info and the ability to allow comments to be posted for the photos. Both versions are available from the menu on the right. To finalize this, a new main cabin web page needs to be created. One thought is to use is blog as the main page and use the menu on the right to access all the different sub sections. If you have any thoughts on this, please leave a comment.
Todo list
Utility Room
-
Fix ant infested ceiling joist -
Get roof fixed/replaced -
Replace electrical boxes -
Add recessed lighting - Figure out washing machine drain
- Replace dryer vent
-
Frame new closet -
Seal up the room -
New insulation -
New drywall -
Texture drywall -
Paint walls and ceiling -
Prep for tile floor - Tile floor
- Grout floor
- Window and door trim
- Base boards

