Wednesday, May 31, 2017
Rebuilding the utility room - part 1
Luckily, the ants are mostly gone. There were a few returning scouts crawling around so they were pretty easy to deal with.
This week, we come out of the closet. Or more specifically, we actually build a closet. Originally, the utility had a closet that spanned the entire back wall. In our revised designed, the closet is a bit smaller to make space for cabinets and counter space. The existing closet was added after the room was finished so the closet walls butted up to the drywall (and same on the ceiling). We wanted to mostly keep one of the small wall sections, but that meant modifying to fit against the wall and attach to the ceiling joist for stability. While doing this, we noticed that the wall is about 3/4 of inch out of plumb. To finish off the closet framing we added another small wall. The new closet layout is about half the size of the original.
Next on the list was electrical. After some of the problems we’ve encountered previously, we elected to just replace all the boxes. All the switch/outlet boxes were removed and replaced with new. The existing room light was replaced with recessed LED lights (well 2 of the planned 4 were installed). A new switch and recessed LED light was added for the closet because who wants a dark closet. A new outlet box was installed above where the counter will go to provide a convenient source of power for computers/desk accessories. All new switches and outlets were installed.
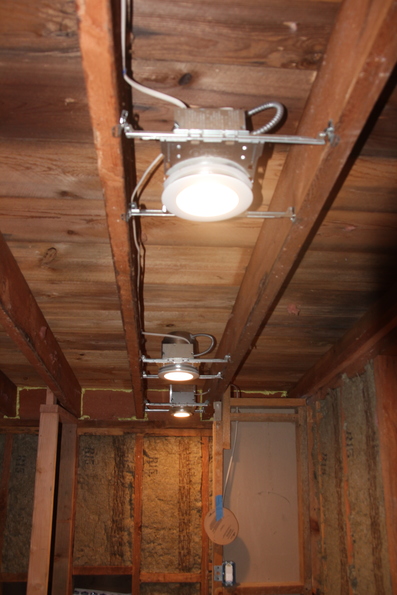
Lastly, we started on sealing up the space. Some of the big gaps at the back were spray foamed as was the gap around the door. Started installing insulation. We had about 1 1/2 packages left so used that up. 4 new packages should be waiting for pickup next week.
My original plan for replacing the ant infested ceiling joist was flawed. For some reason I thought that it was on hangers both front and back, failing to realize that the back of joist goes through the wall and provides the overhang. Thus I picked up a replacement that is too short by about a foot.
We had someone out to give us a quote for a new deck and also asked for quotes on fixing the ant damage and staining the house. His suggestion was to remove the roofing, pull the nails out of that one joist, replace the joist, fix the roof boards and re-roof. That’s probably what we’ll do, but now we need to know how much and when. Until that’s fixed, we can’t really do much more on the utility room.
With the utility room work on hold we focused on the outside. We racked up a tailer load of yard waste and hauled it down to the burn pile. Probably have 2 more trailer loads to go before the yard is all cleaned up.
Todo list
Utility Room
- Replace ant infested ceiling joist
- Get roof fixed/replaced
-
Replace electrical boxes - Add recessed lighting
- Figure out washing machine drain
- Replace dryer vent
-
Frame new closet - Seal up the room
- New insulation
- New drywall
- Texture drywall
- Paint walls and ceiling
- Prep for tile floor
- Tile floor
- Grout floor
- Window and door trim
- Base boards
Monday, May 22, 2017
Demo day
We’re in the home stretch as far as the interior remodel goes. We started work on the last room. The “utility” room was an addition added sometime in the 80’s, we think. It has the washer/dryer hook-ups and a fairly large closet. We’ve been using the room as a storage room. Well that changes starting now!
We moved everything out of the room and into the bedroom and moved the beds from bedroom to the recently finished upstairs. Once the room was emptied out, it was time to get started. Here’s the room once we emptied it out.
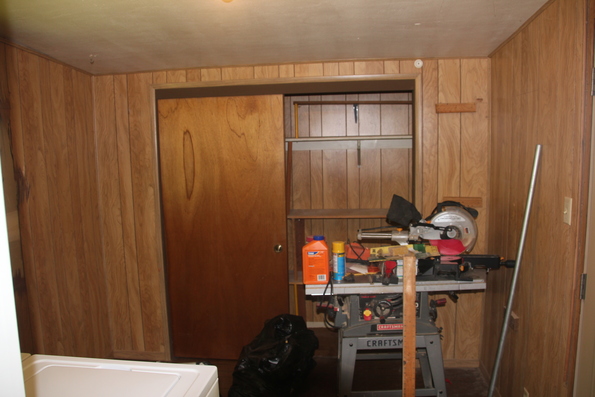
We started by removing all the paneling and closet doors. The room seemed to brighten up a bit with all the dark paneling gone. Then it was time to punch some holes in the walls and start ripping out drywall. Things start getting messy with all the dust. We did find one decent size wasp nest in the wall. As we opened up the walls, the smell of mouse/rat piss got quite a bit stronger. When we were working on the common wall between the bedroom and the utility room we did find some mouse carcases. So the smell was not totally unexpected. Taking the ceiling down was a real treat. Much of the insulation had turned to dust so as sections of the drywall came down, so did piles of insulation dust. There were also quite a number of small wasp nests in the ceiling.
Then we found the carpenter ant nest. Again, not unexpected. There were ants in the bathroom when we opened that up. There were some ants up above the bathroom wall and below the window (likely had been a leak there) and we had opened a small bit of the utility room ceiling a while back because of ants. It looks like the flashing on the addition roof was leaking for a while and the ants had moved in. One ceiling joist looked pretty chewed up. We started by spraying it down with carpenter ant killer and the ants started dropping like flies. Well they dropped from the ceiling to the floor to the point where the floor looked alive. Our missing became, kill the ants.
Over the course of the next 24 hours, we’d poke at the nest, rile up the ants and spray them, then step on the ones that drop.
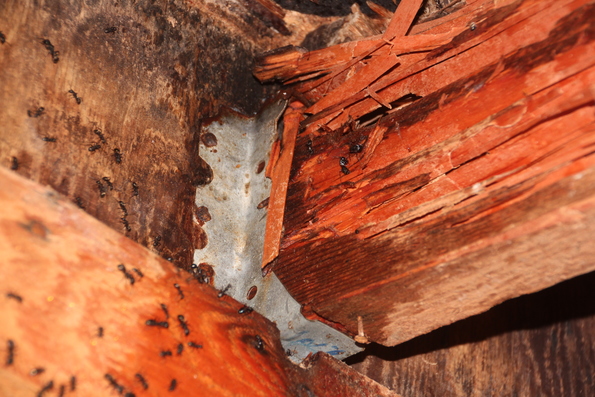
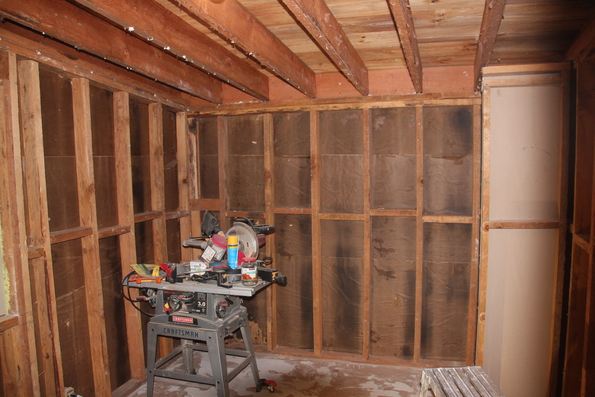
After a few rounds of this, the number that drop each time has dwindled. The big question is what happened to the queen? Working around the ants, we managed to get all the insulation out of the ceiling and walls. With the room mostly cleaned out, we hauled it all off to the dump (ants included). The last thing to be removed was the floor covering. With that gone, we now have a clean slate.
Todo list
Utility Room
- Replace ant infested ceiling joist
- Get roof fixed/replaced
- Replace electrical boxes
- Add recessed lighting
- Figure out washing machine drain
- Replace dryer vent
- Frame new closet
- Seal up the room
- New insulation
- New drywall
- Texture drywall
- Paint walls and ceiling
- Prep for tile floor
- Tile floor
- Grout floor
- Window and door trim
- Base boards
- Install new ceiling fan
Monday, May 1, 2017
It’s a new room!
It’s been a while since the last update so it was time to get back at it.
The upstairs is essentially finished. There’s still caulking all the trim, but you have to be in the right mood to caulk. There’s also the back bedroom ceiling fan and front bedroom closet door. It took pretty much a whole weekend to finish up the trim. This was all the ceiling to wall trim which means that there’s a lot of work on the ladder near the peak of the cabin. Did I mention that I don’t really like ladders? Being at the top of a tall ladder that’s sitting at the top of a stairway is the worst. Not only is it a long way down to the bottom of the stairs, but it cramped and hot. I’m really glad that’s done.
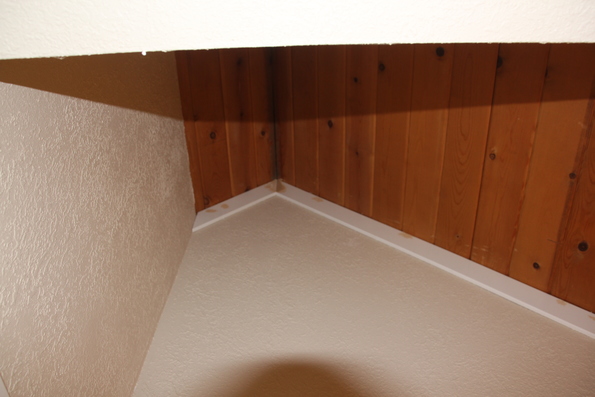
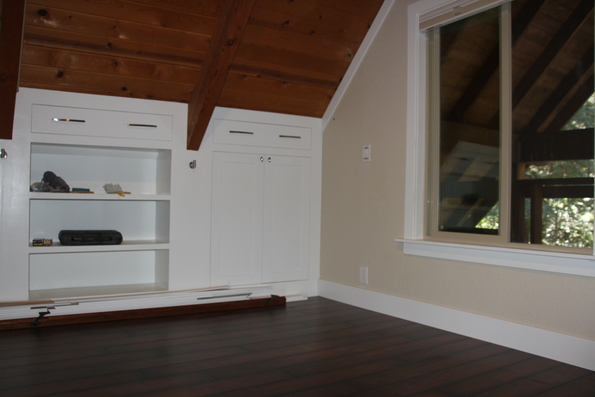
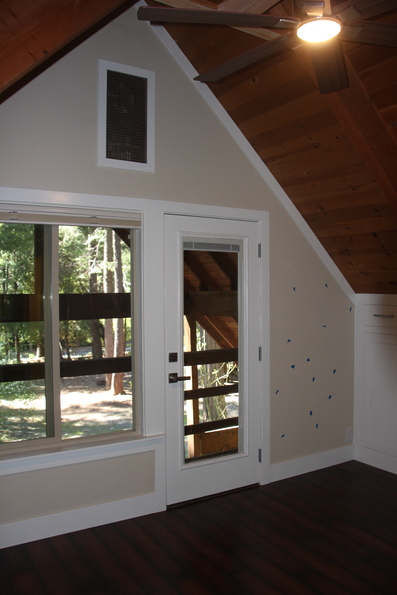
With the trim complete, it means no more cutting, which means we can finally clean up the front bedroom. It’s been a construction zone for so long it’s quite amazing to see it cleaned out and almost ready for furniture.
Todo list
Back bedroom
-
Dog cubby baseboard -
Dog cubby outside trim -
Figure out knee wall design -
Knee wall door trim -
Build/install bookcase -
Install hangers for clothes -
Install drawer carcasses -
Install drawer boxes -
Install drawer trim -
Install baseboard -
Trim wall to ceiling corners - Install conduit for ceiling fan — almost finished
- Build new ceiling fan mount
- Install new ceiling fan
Front bedroom
-
Paint balcony door -
Frame knee walls -
Trim knee walls - Door for closet
-
Bookcase for knee wall -
Dresser Drawers -
Cabinet doors for knee walls -
Install baseboard -
Install wall to ceiling corner trim -
Install conduit for ceiling fan -
Build new ceiling fan mount -
Install new ceiling fan -
Install grill cover for vent fan -
Install window blind

