Monday, August 22, 2016
The sting
Every now and again we need to step outside and do some yard work. This weekend, Genny pulled some weeds/plants from the driveway and we both raked up some leaves, stick, pine cones, and pine needles. Now that we’ve started, it’s more obvious how much more we need to do. I think Labor day will be yard labor day.
A couple of weeks back we noticed (well our guests noticed) a large wasp nest hanging off the shed overhang. Wasp spray was on the list, but we forgot it so the nest is still intact. I guess when I was banging around in the shed looking for a couple of pieces of wood, I woke them. When I left the shed and slammed the door, it must of irritated at least one wasp and it decided to sting me on the back of my arm. A good reminder that we really need to get some wasp spray. Larry, I think I have a job for you up at the cabin … just kidding.
So far, with the drawer boxes, I’ve been building them the same size for each side of the room. We’ll, that’s about to change. The knee walls aren’t identical between the two sides and while the difference isn’t great, it’s enough to cause the top drawers to differ in height by about 1 inch.
A bunch of time was spent measuring the drawer box placement. Since the boxes are built at home then brought on-site to assemble and place, getting good measurements is critical.
This weekend we made the side trim pieces for the center drawer stacks. Again, they are slightly different from side to side. Once we had the trim pieces fitted, we started looking at how the drawer boxes align and what additional work is needed before we can mount the drawer slides. While thinking about this we realized that the tip out drawer above the drawer stack was going to be a problem. For the cubby and storage areas we can get behind the tip out drawer and we needed to do that to reach the hinge screws. With drawers in place, there’s no way to get behind the tip out drawer (and thus, no way to install the hinges). The only solution seems to be to build the drawer trim as a face frame, build and install the tip out drawer in the face frame trim and then, once it’s all built, attach it to the knee wall. At least we figured this out before attaching the trim!
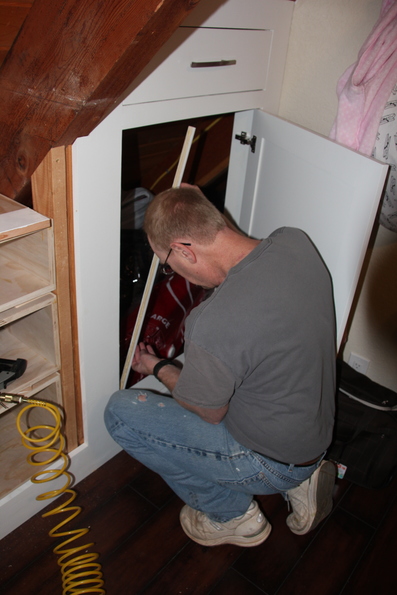
We installed the door stops for the storage area knee wall doors. It’s just a small thing, but now with the doors aligned properly when closed, it just looks so much better.

Back bedroom
-
Dog cubby baseboard -
Dog cubby outside trim - Figure out knee wall design — getting close
-
Knee wall door trim -
Build/install bookcase -
Install hangers for clothes - Install drawer carcasses — a couple are set in place
- Install drawer boxes
- Install drawer trim
-
Install baseboard - Trim wall to ceiling corners
- Install conduit for ceiling fan — almost finished
- Build new ceiling fan mount
- Install new ceiling fan
Front bedroom
-
Paint balcony door - Frame knee walls
- Trim knee walls
- Door for closet
- Drawers and doors for knee walls
- Install baseboard
- Install wall to ceiling corner trim
- Install conduit for ceiling fan
- Build new ceiling fan mount
- Install new ceiling fan
- Install grill cover for vent fan
- Install window blind

